
← Back to projects

TRAINING LAB
Wi-Fi Access Point Configuration (TP-Link)
TP-Link Access Point · LAN/WAN · DHCP · SSID · WPA2 · Greta du Val d'Oise
Context
As part of the TAI training at Greta du Val d Oise (Lycée Louis Jouvet, Taverny), I was tasked with configuring a TP-Link Wi-Fi access point from scratch, working independently. The exercise simulates a real-world IT technician task: deploying wireless connectivity for an office or training room, from physical cabling to full network validation.
Scope & Objectives
- Physically connect the TP-Link access point to the lab network switch (RJ45)
- Access the AP web administration interface (http://192.168.0.1)
- Configure WAN addressing (DHCP or static IP depending on topology)
- Enable the integrated DHCP server for Wi-Fi clients
- Configure the wireless network: SSID, band, channel and WPA2-PSK security
- Validate Wi-Fi connectivity from a test device (DHCP + internet access)
Solution & Deliverables
- TP-Link AP connected to switch and powered on — link LEDs confirmed
- Admin interface accessed via http://192.168.0.1 with manufacturer default credentials
- WAN set to DHCP — valid IP obtained from upstream router
- Integrated DHCP server enabled for automatic address distribution to Wi-Fi clients
- SSID configured, 2.4 GHz band, WPA2-PSK encryption with strong passphrase
- Test device connected with DHCP IP obtained, ping 8.8.8.8 successful, internet access confirmed
Stack & Technologies
- TP-Link Access Point — Wi-Fi AP provided by the training lab
- TP-Link web admin interface — browser-based configuration (192.168.0.1)
- WPA2-PSK — Wi-Fi security protocol with passphrase
- Integrated DHCP — automatic IP address distribution to wireless clients
- RJ45 / LAN Switch — wired infrastructure for AP uplink
- Ping / network test — internet connectivity validation
Configuration Procedure
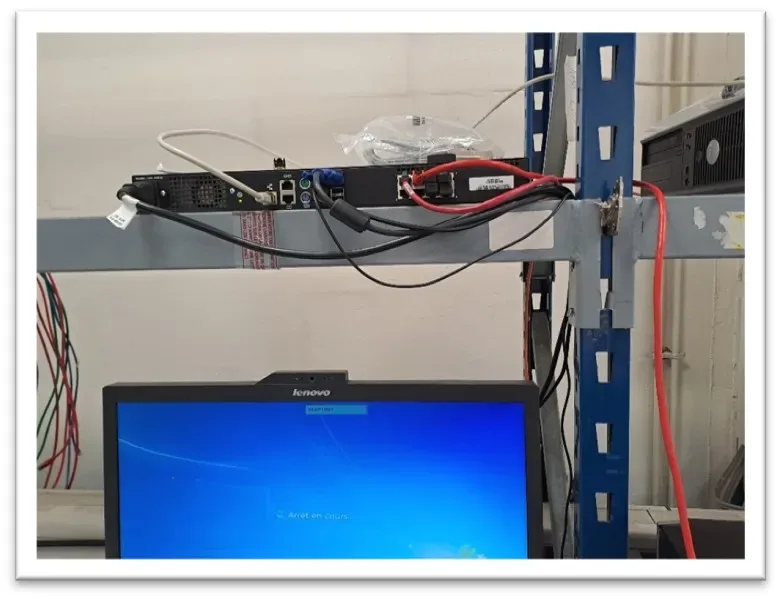
- 1Physical connectionTP-Link AP connected to the lab switch via RJ45. Powered on and link LEDs checked to confirm network connection established.
- 2Admin interface accessBrowser → http://192.168.0.1. Default manufacturer credentials entered (printed on device label). Access to TP-Link configuration panel.
- 3WAN addressingWAN settings → DHCP mode selected to automatically obtain an IP from the upstream router. Valid WAN address verified.
- 4LAN & DHCPAP local IP confirmed. Integrated DHCP server enabled for automatic address distribution to Wi-Fi clients.
- 5Wireless networkSSID configured, 2.4 GHz band, channel and transmission mode selected. Security: WPA2-PSK with strong passphrase.
- 6VerificationTest device connected to SSID. DHCP IP obtained, ping 8.8.8.8 successful, internet access confirmed, AP visible in admin dashboard.
Outcomes
- Connectivity
- Wi-Fi network operational(DHCP + internet access validated)
- Security
- WPA2-PSK(Custom SSID and passphrase)
- DHCP
- Active on AP(Addresses distributed to clients)
- Mode
- Autonomous(Full configuration without assistance)
Screenshots